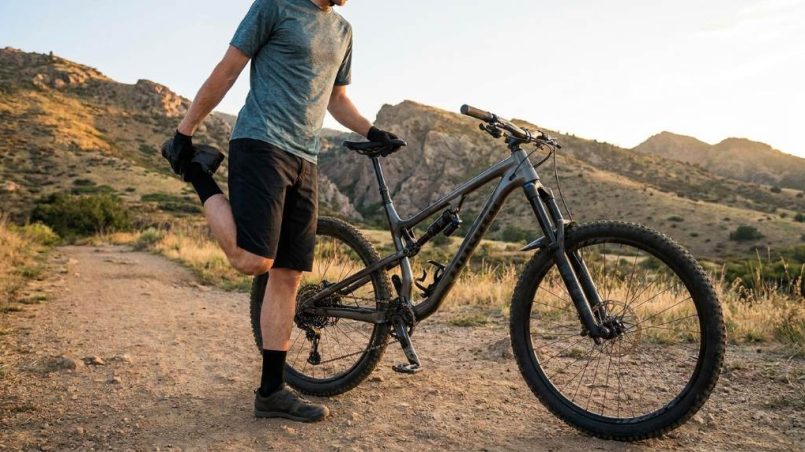
Stop trail fatigue by controlling your pace, fueling early, hydrating steadily, and matching your bike setup to rugged terrain. Denver sits at 5,280 feet, while nearby mountain routes can climb thousands of feet higher. Therefore, efficient pacing matters more than pushing maximum power on every climb. Your mountain bike size for 5ft 11 also affects comfort, control, and energy use.
Key Takeaways for Fighting Trail Fatigue
-
- Pace early: Start conservatively and protect your energy for technical climbs and descents.
- Fuel consistently: Eat before deep fatigue appears, especially during longer mountain rides.
- Hydrate strategically: Replace fluids regularly while accounting for Denver’s dry climate and elevation.
- Improve bike fit: Correct saddle height, reach, and frame size can reduce unnecessary muscular strain.
- Use efficient gearing: Shift before steep ramps force you into exhausting low-cadence efforts.
- Respect recovery: Short breaks can preserve coordination and prevent fatigue-driven mistakes.
Why Denver Trails Create Faster Fatigue
Denver’s terrain combines altitude, steep grades, loose surfaces, rocks, roots, and frequent elevation changes. Consequently, your body works harder while your bike demands constant steering, braking, and balance.
Altitude adds another challenge because Denver already stands well above sea level. Moreover, nearby routes quickly reach elevations where thinner air can make hard efforts feel noticeably tougher.
Dry air can also increase fluid loss during demanding rides. Therefore, waiting until you feel thirsty can leave you playing catch-up during difficult sections.
Rugged trails create muscular fatigue differently from smooth roads. Your arms, shoulders, core, hips, and legs repeatedly absorb impacts and stabilize the bicycle.
Technical terrain also raises mental fatigue because every obstacle requires attention. Once concentration drops, riders often brake poorly, choose weaker lines, or attack climbs too aggressively.
Understanding these demands changes your strategy immediately. Instead of treating fatigue as a fitness problem, manage the terrain, effort, equipment, and recovery together.
Altitude Changes How Hard Your Ride Feels
New visitors often notice harder breathing during climbs around Denver. However, you can reduce that sensation by keeping early efforts comfortably below your maximum.
For acclimatization, prioritize easier rides before attempting demanding high-elevation routes. Then increase duration and climbing gradually as your body adjusts.
Build a Bike Setup That Saves Energy
A poorly adjusted bicycle can turn ordinary trail movement into unnecessary muscular work. Before riding, check saddle height, handlebar position, tire pressure, suspension settings, and cockpit reach.
Correct frame dimensions also influence your position and control. This measure a bike frame guide can help you understand the measurements behind proper fit.
Your saddle should support efficient pedaling without forcing excessive knee extension. Likewise, your reach should let you control the front wheel without constantly stretching your shoulders.
Tire pressure deserves special attention on Denver’s rocky trails. Excessive pressure can reduce traction, while extremely low pressure can increase rim impacts and handling problems.
Start with your tire manufacturer’s recommended range, then adjust gradually for rider weight and terrain. Test changes on familiar trails before using them during long rides.
Choose Suspension Settings for the Terrain
Suspension should absorb impacts without making your pedaling feel unnecessarily soft. A balanced setup helps maintain traction while reducing repeated impacts through your body.
Check sag, rebound, and compression settings before demanding rides. If the bike repeatedly bounces or bottoms out, adjust the suspension before adding more distance.
Use Gearing Before the Climb Gets Steep
Strong riders still lose energy when they shift too late. Instead, select an easier gear before the steepest section begins.
Maintaining a sustainable cadence reduces the temptation to grind through climbs. Additionally, smoother pedaling helps preserve energy for technical sections later.
A wide-range drivetrain can make climbing easier when the terrain changes rapidly. If you’re considering drivetrain options, understanding 21 speed bike benefits can clarify how gear choices affect trail performance.
Control Your Pace Before Fatigue Controls You
The most effective fatigue strategy starts before your legs feel tired. Ride the opening miles at a pace that feels almost too easy.
That conservative start creates an energy reserve for steep climbs and technical terrain. Furthermore, it keeps your breathing controlled when elevation changes suddenly.
Use perceived effort instead of chasing a fixed speed. Rocky trails constantly change speed, so effort provides a more useful pacing guide.
During sustained climbs, settle into a rhythm you can maintain without repeated standing efforts. Stand when traction, gradient, or obstacles make seated pedaling inefficient.
On descents, avoid gripping the handlebars excessively. A relaxed grip reduces forearm fatigue and allows the bike to move naturally beneath you.
Use the Three-Stage Effort Method
Divide demanding rides into three effort zones: comfortable, controlled, and hard. Spend most of your ride in the first two zones.
Reserve hard efforts for short climbs, technical exits, or situations requiring immediate power. This approach prevents early intensity from draining your entire ride.
Also monitor how quickly your breathing recovers after climbs. Slow recovery often signals that your current pace exceeds your sustainable effort.
Fuel and Hydrate Before You Feel Drained
Trail fatigue often arrives after riders have already under-fueled for several hours. Therefore, begin long rides with adequate food rather than relying entirely on emergency snacks.
Choose carbohydrates that digest comfortably and provide consistent energy. Bananas, energy bars, sandwiches, chews, and similar foods can work well during extended rides.
Eat smaller amounts regularly instead of waiting for intense hunger. Consistent intake helps prevent the sudden energy crash that makes technical riding feel much harder.
Hydration requires equal attention, especially during dry weather. Carry enough fluid for your route and identify reliable refill opportunities before starting.
Longer or hotter rides may also require electrolytes, particularly when you sweat heavily. However, your hydration plan should reflect ride duration, temperature, intensity, and individual needs.
Pack for the Actual Ride
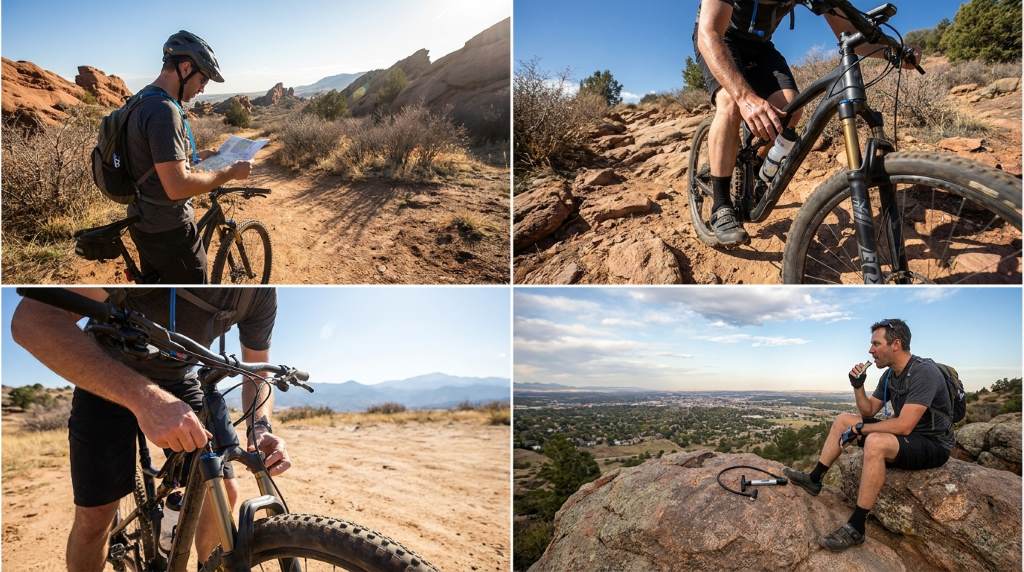
Carry more than food and water when riding remote or rugged trails. A practical kit should include a spare tube, pump, tire plugs, multitool, and basic first-aid supplies.
Add a charged phone and an appropriate navigation method for unfamiliar routes. A lightweight emergency layer can also protect you when mountain weather changes quickly.
Smart packing prevents mechanical problems from becoming exhausting hikes. More importantly, preparation reduces the mental stress that accelerates fatigue.
Protect Your Head and Reduce Riding Stress
Fatigue increases the importance of reliable protective equipment because tired riders make more mistakes. Choose a properly fitted helmet designed for mountain biking and replace damaged equipment.
Modern mountain bike helmets can include rotational-impact systems designed to reduce certain forces during angled impacts. Learn more about MIPS mountain bike helmet protection before selecting your next helmet.
Gloves can also reduce hand discomfort during long rides. Meanwhile, suitable eyewear protects your vision from dust, branches, insects, and changing trail conditions.
Comfort matters because discomfort encourages poor posture and unnecessary tension. Consequently, protective gear should fit securely without creating pressure points.
Relax Your Upper Body
Many riders unknowingly tense their shoulders during technical descents. Drop your shoulders, loosen your grip, and keep your elbows slightly bent.
Let your arms act as suspension while your hips remain mobile. This technique reduces impact transfer and helps you maintain control through rough sections.
Use Recovery Breaks Without Losing Momentum
Short breaks can improve performance when you use them strategically. Stop before complete exhaustion rather than waiting until your legs completely fade.
During a break, drink, eat, check your bike, and assess the remaining route. Keep the pause purposeful so your body does not become unnecessarily stiff.
Technical climbs may also justify brief regrouping stops. If riding with others, communicate before fatigue affects your decision-making.
Know the Difference Between Fatigue and Warning Signs
Normal fatigue usually improves after reducing effort or taking a short break. Concerning symptoms require a different response and should never become part of your pacing strategy.
Stop riding if you experience severe dizziness, confusion, chest pain, fainting, or unusual breathing difficulty. Seek appropriate medical help when symptoms appear serious or persist after stopping.
Similarly, worsening coordination deserves immediate attention on technical trails. A slower ride home remains safer than forcing yourself through a difficult descent.
Train Specifically for Denver’s Rugged Terrain
General cycling fitness helps, but trail-specific training creates better fatigue resistance. Include climbing, technical handling, strength work, and sustained aerobic efforts in your routine.
Start with manageable elevation and gradually increase climbing volume. Then add technical sections after you can complete longer climbs without excessive fatigue.
Strength training can support riding muscles when performed consistently. Focus on movements that develop leg strength, core stability, pulling strength, and controlled hip movement.
Practice Technical Skills While Fresh
Skill practice works best before fatigue compromises coordination. Therefore, practice cornering, braking, climbing lines, and obstacle negotiation early in training sessions.
Once those skills become automatic, they require less conscious effort during long rides. That saved mental energy becomes valuable during demanding late-stage trail sections.
A Practical Pre-Ride and On-Trail Fatigue Plan
Preparation should take minutes rather than becoming another complicated task. Use a simple checklist before every demanding Denver mountain bike ride.
-
-
- Before leaving: Check tire pressure, brakes, drivetrain, suspension, weather, route, food, water, and repair equipment.
- First section: Ride conservatively and establish a sustainable breathing rhythm.
- During climbs: Shift early, maintain smooth cadence, and avoid unnecessary standing efforts.
- During descents: Relax your upper body, look ahead, and brake before technical sections.
- Every hour: Assess hydration, energy, muscle tension, and remaining distance.
- Before exhaustion: Take a short recovery break when your coordination or concentration begins declining.
-
This process creates repeatable habits instead of relying on motivation. Over time, those habits make difficult terrain feel more predictable and manageable.
When Should You Turn Back?
Turning around does not mean you failed the ride. Instead, it shows that you recognized changing conditions before they created unnecessary risk.
Reconsider your route when weather deteriorates, daylight disappears, supplies run low, or fatigue affects bike control. Additionally, turn back when your remaining route exceeds your realistic energy reserve.
Mountain trails reward conservative decisions because conditions can change quickly. A shorter successful ride builds more useful fitness than an ambitious ride followed by a dangerous struggle.
Conclusion: Ride Smarter, Not Just Harder
Stopping trail fatigue on rugged Denver rides requires more than building stronger legs. Smart pacing, proper fueling, hydration, bike fit, technical skills, and recovery work together.
Start your next ride conservatively and monitor how your body responds to climbing and technical terrain. Then adjust your setup and strategy based on what actually drains your energy.
Use these principles on your next Denver trail, and focus on finishing strong rather than starting fast. Plan your route, prepare your bike, pack intelligently, and ride within your limits.
Frequently Asked Questions
Why do Denver mountain bike rides feel more tiring?
Denver’s elevation, steep terrain, dry air, and technical trails can increase physical and mental demands.
How can I prevent leg fatigue while mountain biking?
Use easier gears, maintain sustainable cadence, fuel regularly, and avoid attacking every climb at maximum effort.
How much should I drink during a rugged trail ride?
Drink regularly according to temperature, duration, intensity, and your personal sweat rate.
Should I take breaks during long mountain bike rides?
Yes, short strategic breaks can preserve energy, coordination, hydration, and concentration.
Can bike fit affect trail fatigue?
Yes, an incorrect fit can increase muscular strain, discomfort, and inefficient movement throughout a long ride.